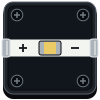
Glimt · Swedish for a flash
Electronics you can touch.
Put a block on the steel plate and it is live. Power, a switch, a light: three blocks and the LED is on. No wires, no breadboard, no code to start.
Play with the blocksGet on the list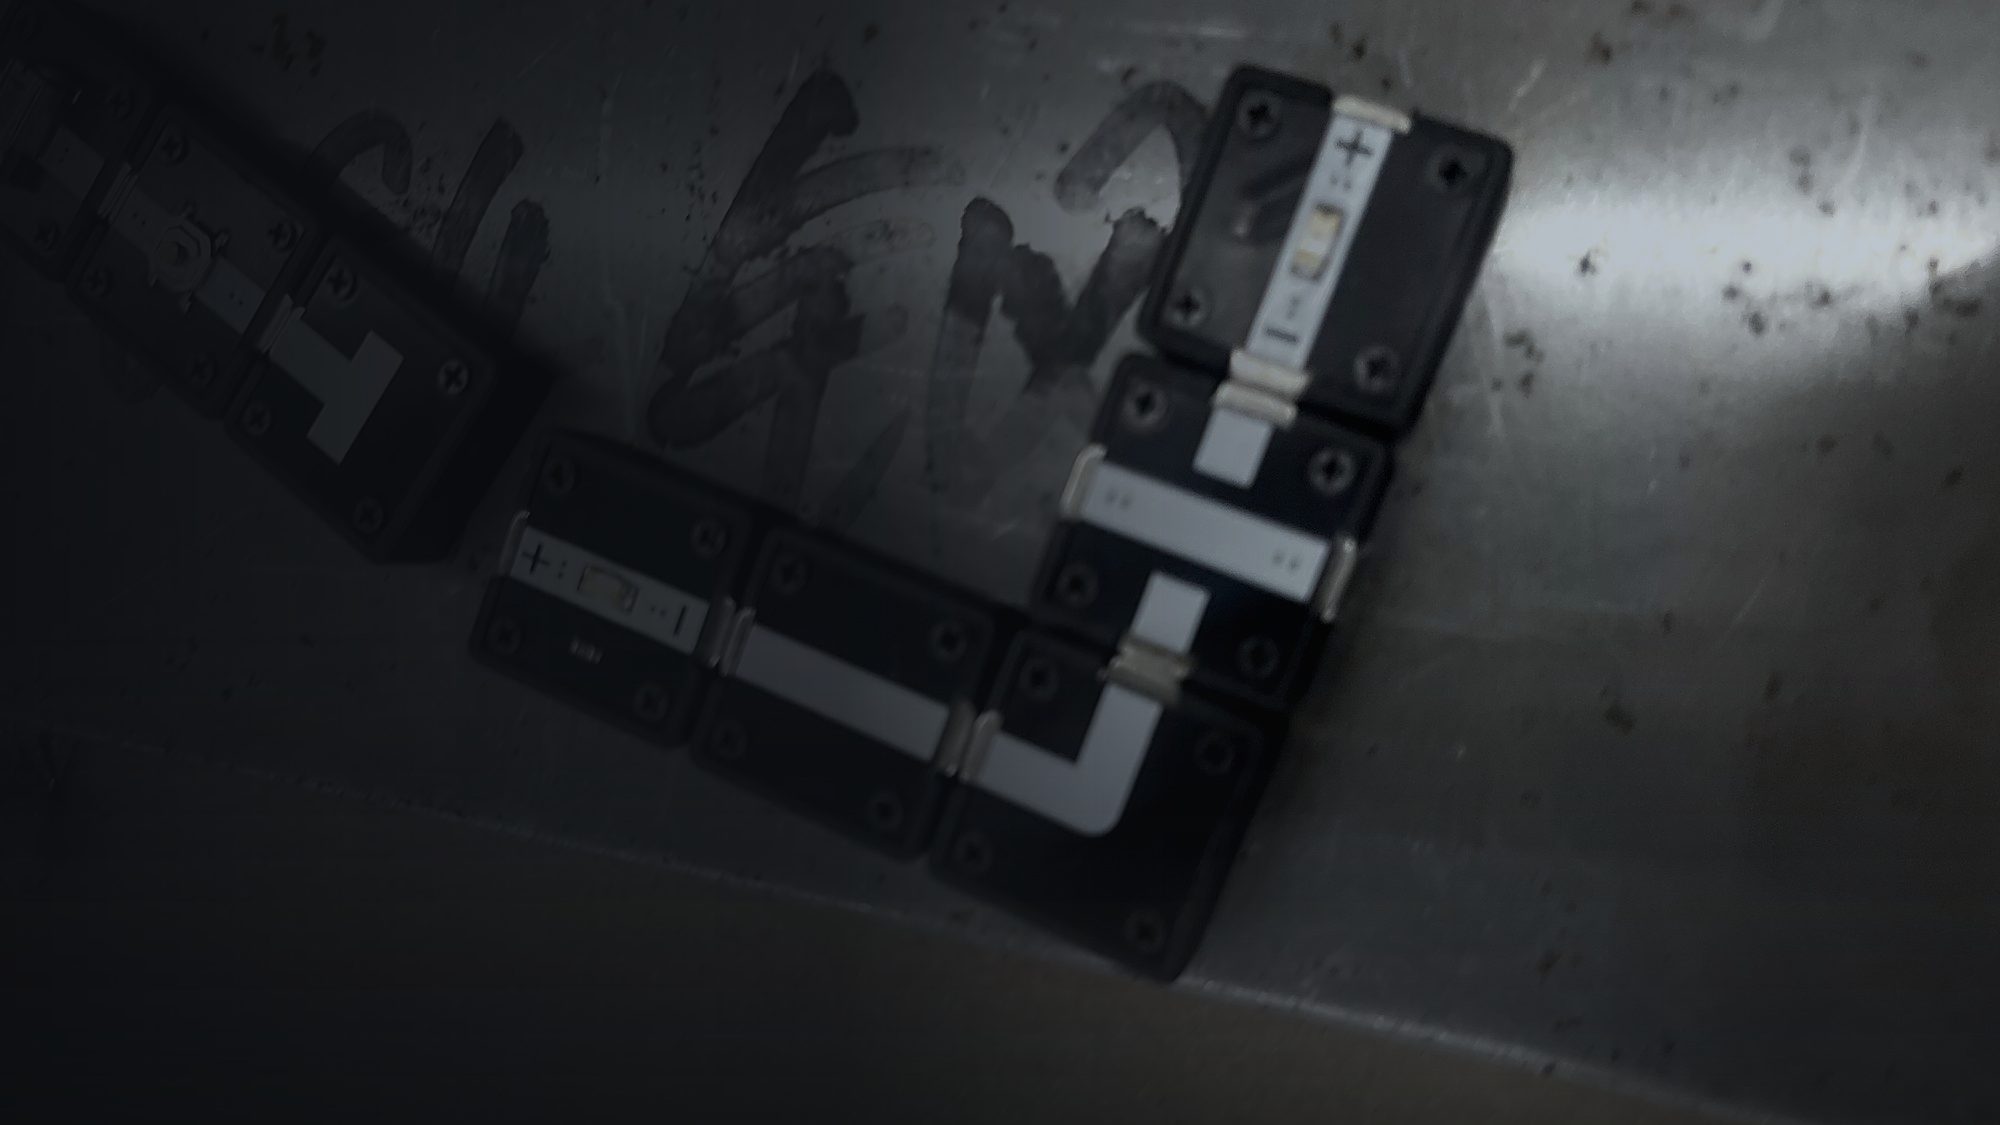
Glimt · Swedish for a flash
Put a block on the steel plate and it is live. Power, a switch, a light: three blocks and the LED is on. No wires, no breadboard, no code to start.
Play with the blocksGet on the listHow it works
Every circuit is a loop. On GLIMT the steel plate is half of that loop, so you only build the other half. That is why three blocks are enough.
A sheet of nickel-plated steel with a dot grid. It holds every block with magnets and carries the current home.
Each side has a sprung gold contact between two magnets. Any side meets any side, with a click.
Every block wears its own circuit symbol and wiring. What sits on your table is the drawing, so the drawing makes sense.
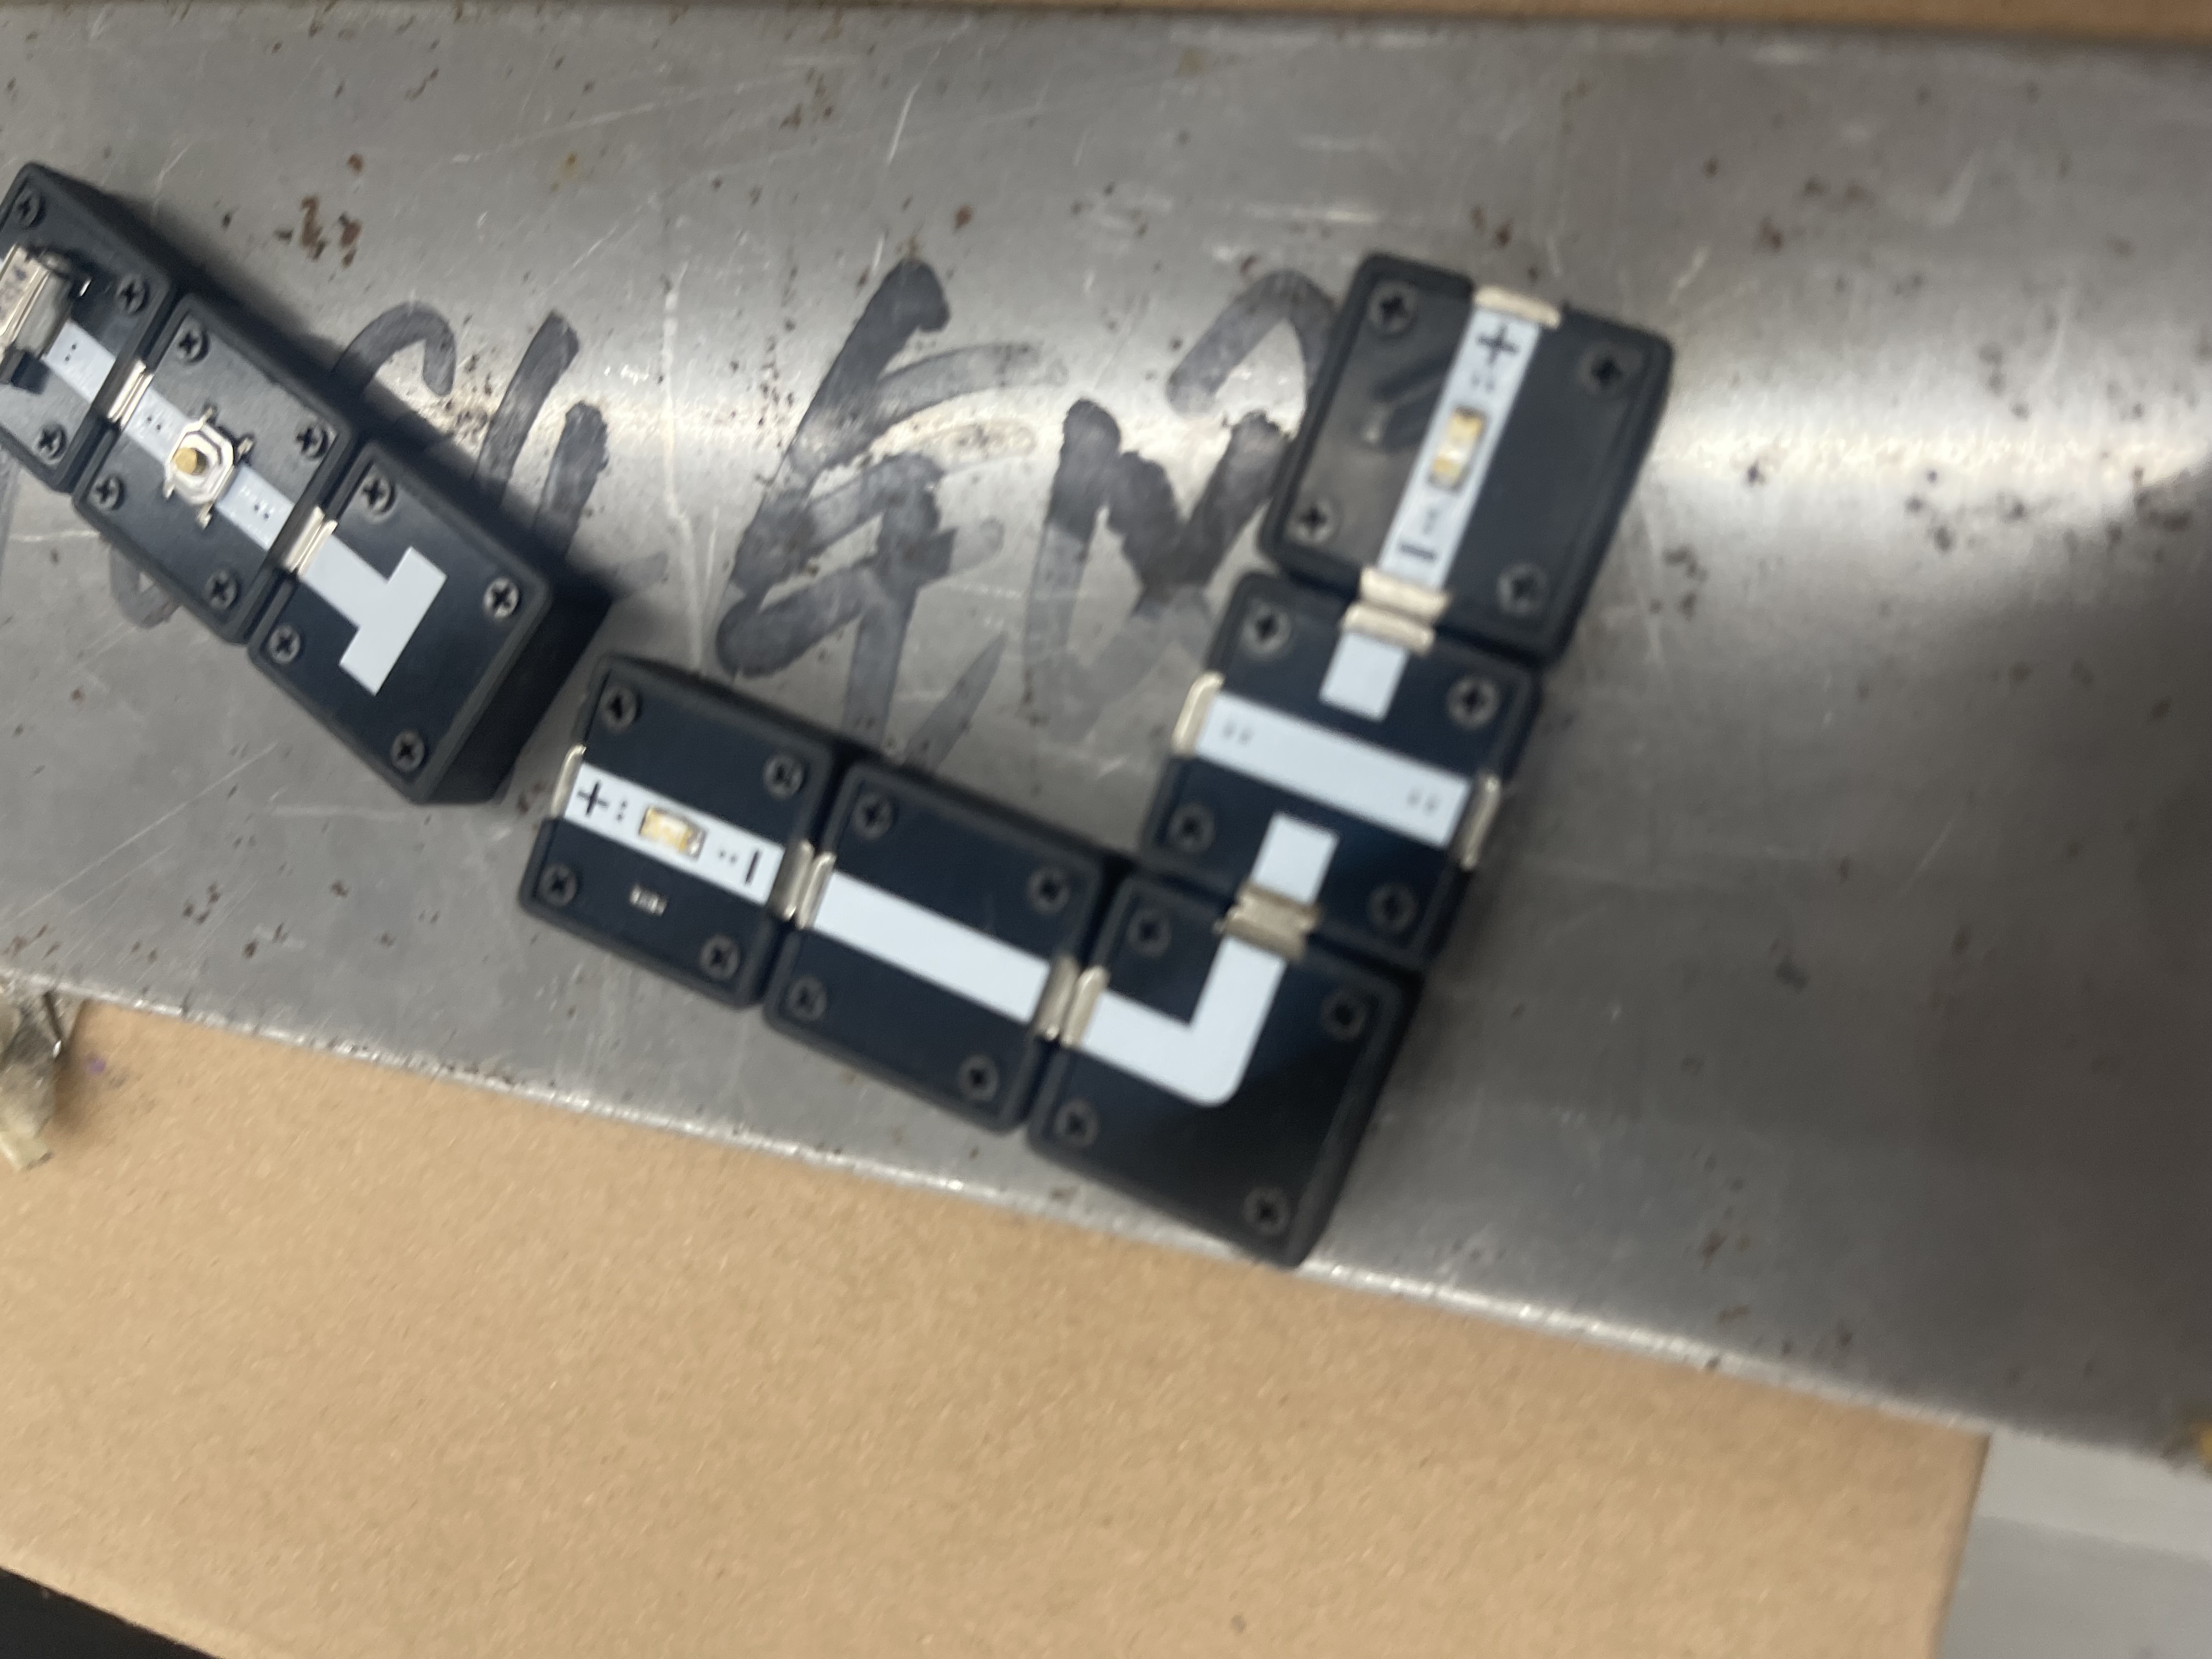
Feel how it works before you read about it.
Swap the switch for a light sensor and the LED follows the room. Add a distance sensor and a buzzer and you have a parking beeper. You learn what a block does by putting it down and watching. The theory shows up after, printed on the block you just used.
The blocks
Seventeen blocks. The colour on top says what a block does.
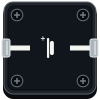 PowerTwo AA cells, 3 V. Everything starts here.
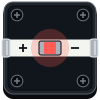 LED redLights up. Has its own resistor, so it never burns.
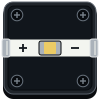 LED greenThe same, in green.
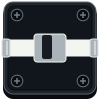 SwitchOn or off. Stays where you put it.
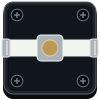 ButtonOn while you press it.
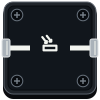 Light sensorLets more current through when the room is bright.
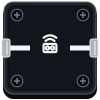 Distance sensorSwitches on when something comes closer than 20 cm.
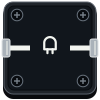 BuzzerThis one makes noise.
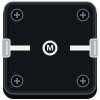 MotorSpins a little fan.
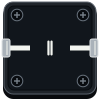 CapacitorFills up with charge, then lets it go slowly.
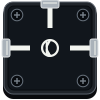 TransistorA small signal opens the way for a big one.
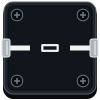 100 ΩHolds back a little current.
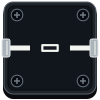 1 kΩHolds back ten times more.
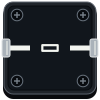 Pull-down 10kGives a sensor a path to the plate.
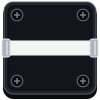 WireCarries the current across.
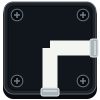 CornerTurns the path.
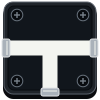 T junctionSplits it in two.
What you can build
The blocks each one uses, left to right. Each takes a minute to put down and an evening to play with.
Power, switch, LED. Flip it and the LED comes on.
Bring your hand closer than 20 cm and it beeps.
The LED brightens and dims with the light in the room.
Let go of the button and the light dies out over a few seconds.
A tiny press through the transistor starts the motor.
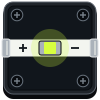
Split the path and both LEDs glow. Pull one and see what the other does.
Who it's for
Try an idea in a minute before you solder anything.
Feel how a sensor behaves in your hand before it goes into a product.
No reading needed for the first light. The questions come by themselves.
Class sets of 16 plates, one per pair, packed in one box. Ask us about a pilot.
One box for a whole class.
Sixteen plates and sixteen trays of twenty blocks, sorted by colour so a tray can be counted back in at a glance. Every power block has a resettable fuse: a short circuit warms nothing and fixes itself.
First batch
Put one down.
Watch it light.

Leave your email. We write once, when the first batch has a price and a date. You pay nothing now.
We'll email you once, when GLIMT has a price and a ship date.
We keep your email and name only to write to you about GLIMT, never share them, and delete them when you ask ([email protected]). Privacy.